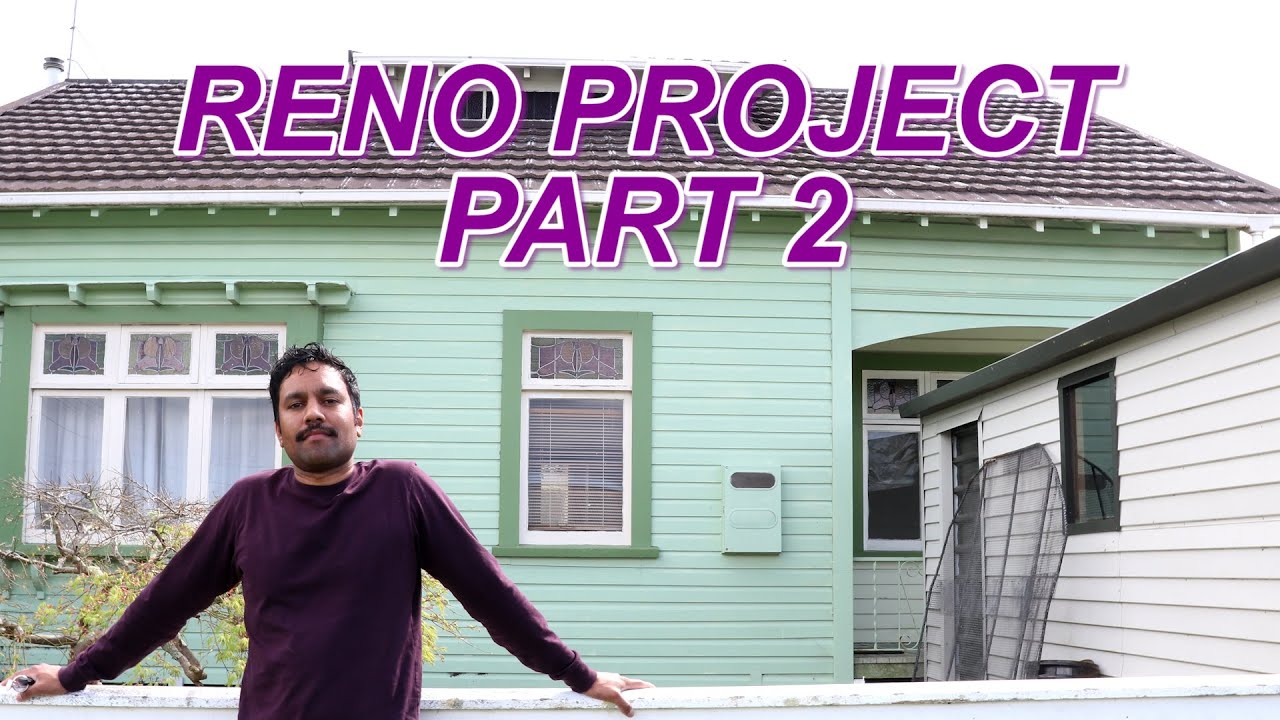
Welcome to our latest renovation journey! In this blog post, we’ll take you behind the scenes of our recent project in Gisborne, where we explore the ins and outs of renovating an older property, including the challenges of dealing with scrim.
Planning Your Renovation
Before diving into any renovation project, proper planning is essential. Here are some key steps to consider:
- Book accommodation, flights, and rental cars in advance.
- Contact local hardware stores, such as Mitre 10 or Bunnings, to ensure they have the supplies you need.
- If certain tools or equipment are sold out, consider flying them down for a small fee, as we did with our paint gun.
First Impressions of the Property
Upon arriving at the property, the first thing to do is assess the condition of the house. Here are some observations:
- Check for dampness by taking a deep breath upon entering.
- Inspect the hardwood floors, which can be sanded and refinished, saving on carpet costs.
- Consider the layout for potential renovations, such as adding a fourth bedroom.
Identifying Key Renovation Areas
During our walkthrough, we identified several areas that require attention:
- The kitchen needs a complete overhaul to appeal to first-time buyers.
- The range hood must be relocated to ensure proper ventilation.
- We may need to upgrade the hot water cylinder and relocate the laundry area.
- Check ceilings for water stains, indicating potential roof issues.
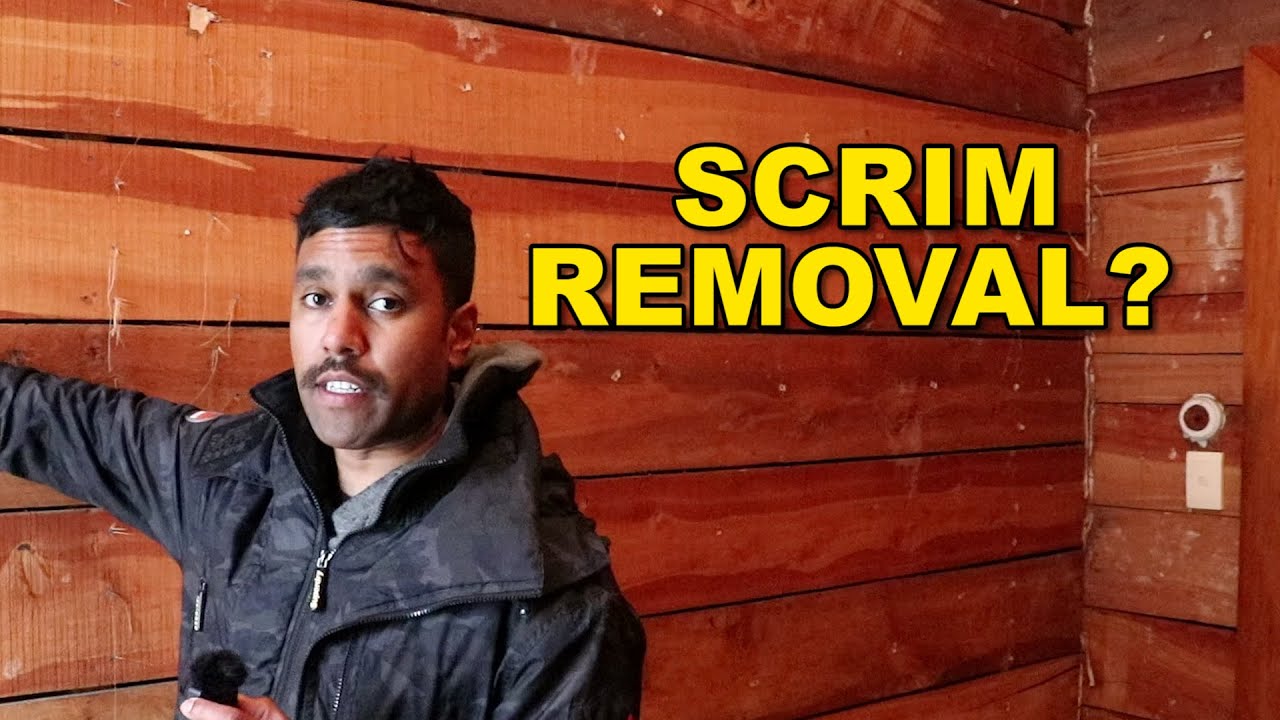
Understanding Scrim and Its Implications
One of the significant challenges we encountered was scrim, a material that can complicate insurance for first home buyers. Here’s what you need to know:
- Scrim resembles an onion sack and is highly flammable.
- Removing scrim is relatively straightforward; it can be peeled off like wallpaper using a Stanley knife.
- Once removed, new jib can be installed, plastered, and painted, leaving no trace of the scrim behind.
Quote: “If it’s got scrim, don’t think too much of it; it’s pretty much like an hour’s job.”
Engaging Local Experts
While on-site, we encountered a local landscaper who provided invaluable advice on enhancing the property’s exterior. Here are some tips from our interaction:
- Consult with local contractors for insights and cost-saving tips.
- Consider landscaping changes that improve curb appeal, such as tree removal and creating outdoor living spaces.
- Always ask questions; it’s a great way to learn and make informed decisions.
Conclusion
This initial visit to the property has set the stage for a successful renovation. We have many more tasks ahead, including painting, plumbing, and electrical work. Stay tuned for more updates as we progress through this project!
Thank you for joining us on this journey. If you have any questions or need advice on your renovation projects, feel free to reach out. Until next time!